
You can ask for “orange coloring pages” in the ColoringPagesTools text-to-coloring-page generator. That’s not a simple request, but you can generate an orange fruit, and then print out your own custom coloring page.
ColoringPagesTools will produce coloring pages based on the words you input. You might find that it doesn’t quite create what you want. But if you’re looking for an orange theme, the tool has some capabilities.
You’ll notice that the coloring pages produced by ColoringPagesTools are all private. The only public coloring pages available are those that have been uploaded to a public library by others. These pages aren’t part of the free allowance provided by ColoringPagesTools, however. They stay free to download, whether or not you buy generator credits or a subscription.
You also shouldn’t assume that any pages you produce using the free allowance (or paid subscription) will appear as public downloads either. Your creations stay private and never join the public library.
Let’s see what you can do
The following are three different prompt starting points that I’ve come up with that you could try. They start at the simplest level and gradually build complexity, matching whole-fruit simplicity to younger children and more detail (branch) to older children:
One whole orange fruit with one leaf. Keep this simple: large closed shapes. Use an empty background so there’s no distractions. This would be ideal for a preschooler.
One large round orange fruit slice with clearly separated segments and a broad outer ring. Again, large closed shapes here for a preschooler, but maybe slightly more detailed than the first example. Keep the background empty, though.
An orange fruit hanging from a short branch with a few leaves. Use separate closed shapes here to allow for an older child’s ability to color-in between the lines. Keep the background empty again.
In each case, I’d keep one focused subject. If you add multiple objects, you’ll likely end up generating something you didn’t mean to. Also, I wouldn’t add color, shading or text instructions.
I think of two styles: one where the shapes are simple and the outlines are bold (for young children), and one where the style is balanced and includes moderate detail (more for older kids). You’ll find these under Simple and Classic, respectively. You may want to inspect the generated outline before printing, too.
You’ll note that these are not tested yet — I don’t know what results you’ll get! The page should be created by describing it in plain English with a simple setting. Try this approach instead.
Keep in mind, too, that the quality isn’t guaranteed. We’ll walk through an example shortly, but you’ll need to make a choice between different generations of the same basic image. Once you’ve used the free allowance, each generation uses credits.
What is allowed for free?
Free pages and quality options
You’ll be able to create 2 Standard pages without an account. Each generation produces a single page. For now, the best way to proceed seems to be to use the Standard and Portrait 3:4 options for the first attempt. The reason is that it’s easier to distinguish the image proportions from the downloadable paper size.
Each image can be downloaded either as a PDF or as a PNG file. There are different quality settings to choose from as well. Here’s a breakdown of the options offered by ColoringPagesTools:
Standard: A fast 1K generation, with one credit required to use it.
High: A higher-quality, more detailed 2K generation, requiring two credits.
It seems like you can buy credits in bulk or purchase a subscription. I’m not sure about the costs associated with the trial credits, but they seem to use the Standard option.
A suggested starting setting is to pick the Standard and Portrait 3:4 options. That allows you to easily distinguish between the actual page shape and the downloadable paper sizes (like A4 or US Letter).
Creating a page and printing it
We’ll walk through the documented workflow of the web app here. As we go, I’ll note whether or not the page is actually printed as described. We’ll even talk about how to connect the PDF choice to the paper loaded into your printer. It’s important to remember that we’re printing a black-and-white line art page, so the final page should be printed at a scale of 100%.
There are a few steps involved. First, you need to describe the image in plain English, including a simple setting. Then, you select the appropriate style, the page shape and the quality.
When you press the Generate button, you should be able to see the completed page, which consists of a series of connected closed shapes. All the images that you generate will look different from one another, so you should review the page before printing.
If you want to download your finished coloring page, you’ll have the option of downloading either a PDF or a PNG file. If you download a PDF file, you’ll also be able to download either an A4 PDF or a US Letter PDF, depending on the type of paper you load into your printer.
For now, I’m not certain that the documentation is accurate; the documentation describes the page being printed at a scale of 100%, which should match the page size you selected. You’ll also have the option of downloading a PNG version of your coloring page.
Here’s an optional coloring sequence
There are several ways you can approach coloring a fruit, depending on the level of detail that you want. The key thing to bear in mind is that each piece of the fruit is a different element. When coloring an orange, for example, it helps to treat the reserved highlight area as a creative choice, as well as the pith (the soft white center).
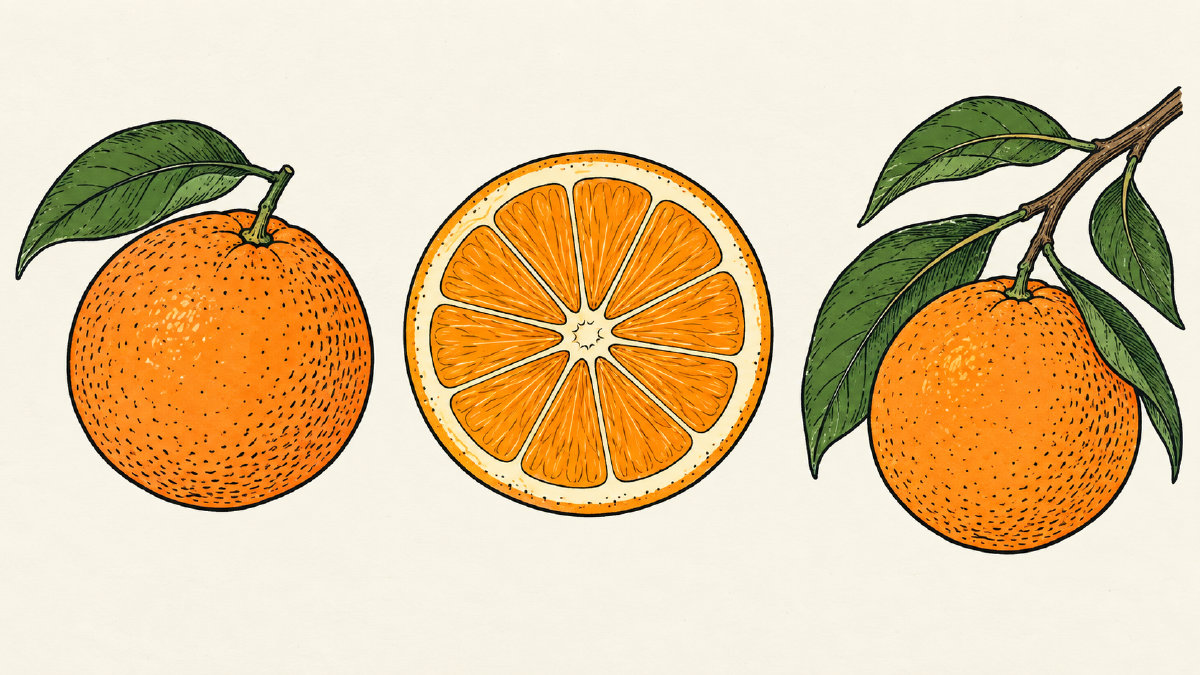
This coloring technique works particularly well when the whole fruit is shown, because the pith is hidden inside the peel. However, it’s more complicated when the orange slices are exposed. In such cases, it makes sense to reserve the inner segments for a more muted tone, leaving the uncolored areas for the fruit itself.
The highlights can help give the illusion of three-dimensionality, especially when you use a lighter shade of orange to define them. However, there are some subtleties that I haven’t discussed that you’ll need to consider, such as the relationship between the peel and the dimples and ridges. When you’re working on an orange fruit, it’s also possible to add subtle darker marks along the edges of the peel. You could use warm orange for the peel, darker marks for the dimples and a lighter shade for exposed segments. I’d use green for the leaves and brown for the branch.
If you’re going to use crayons to color the fruit, you should choose ones with light shades and small amounts of dark pigments. Colored pencils, however, allow for more precise control over the degree of shading and can be used effectively on both simple and detailed pages.
Adapting the finished coloring page
Now that you’ve created a coloring page, you can adapt it for other purposes as well. If you’re creating a vocabulary card, you’ll probably want to cut it out and write the name of the fruit on it once you’ve colored it. (Note that you won’t be using any lettering from the generated image.) Similarly, you could use it as the basis for a counting activity, counting the number of fruit actually visible. Either of these activities will work independently of the generated lettering or an exact count of the objects generated.